Getting Started
You’ll want to have a few things to get started with KaraokeArcade:
-
Songs: KaraokeArcade supports MP4 video files as well as MP3 audio files that have lyrics in an accompanying CDG file (commonly known as MP3+G). See the F.A.Q. if you’re looking for songs!
-
Server: This can be a Windows PC, Mac, or a dedicated server like a Raspberry Pi or NAS. KaraokeArcade Server runs on pretty much anything to serve the web app and your media files.
-
Player: This will be the system that is connected to your display and speakers, running KaraokeArcade’s player in a browser. It could be the same system as the server, but because the player is fully browser-based it doesn’t need to be.
Microphones are not required since the player itself only outputs music - this allows your audio setup to be as simple or complex as you like. See the F.A.Q. for more information.
1. Install KaraokeArcade Server
On the system that will serve the web app and your media files, install and run KaraokeArcade Server, then head back here and continue.
2. Browse to the Server URL
Once the server is running, browse to the web app at the server URL.
3. Create Admin Account
Since this is your first time with KaraokeArcade, you’ll be asked to create your admin account.
Make sure you use a strong password and store it someplace safe, since admins can manage users, rooms, preferences and more.
4. Add Media Folders
Once signed in, you’ll see an (unsurprisingly) empty library. Head to the Settings view by following the “Add media folders” link or tapping the knob icon in the bottom navigation area (it’s there because you’re an admin):
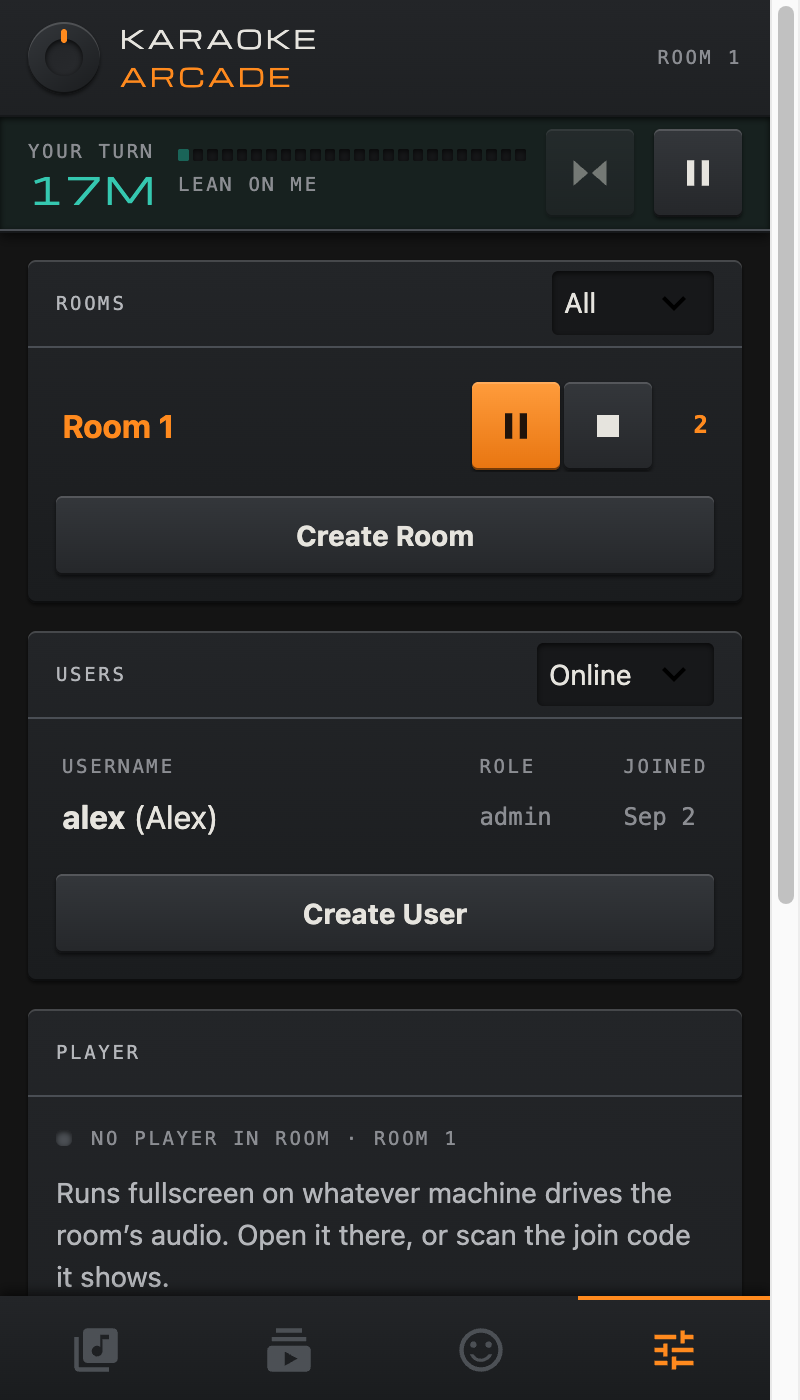
Settings view
In the Preferences panel, select Media Folders and add the folder(s) containing your songs.
5. Queue a Song
Once the media scanner is finished, you should see your artists/songs back over in the Library view. If they aren’t appearing, make sure your media files are named using the “Artist - Title” convention and are a supported format.
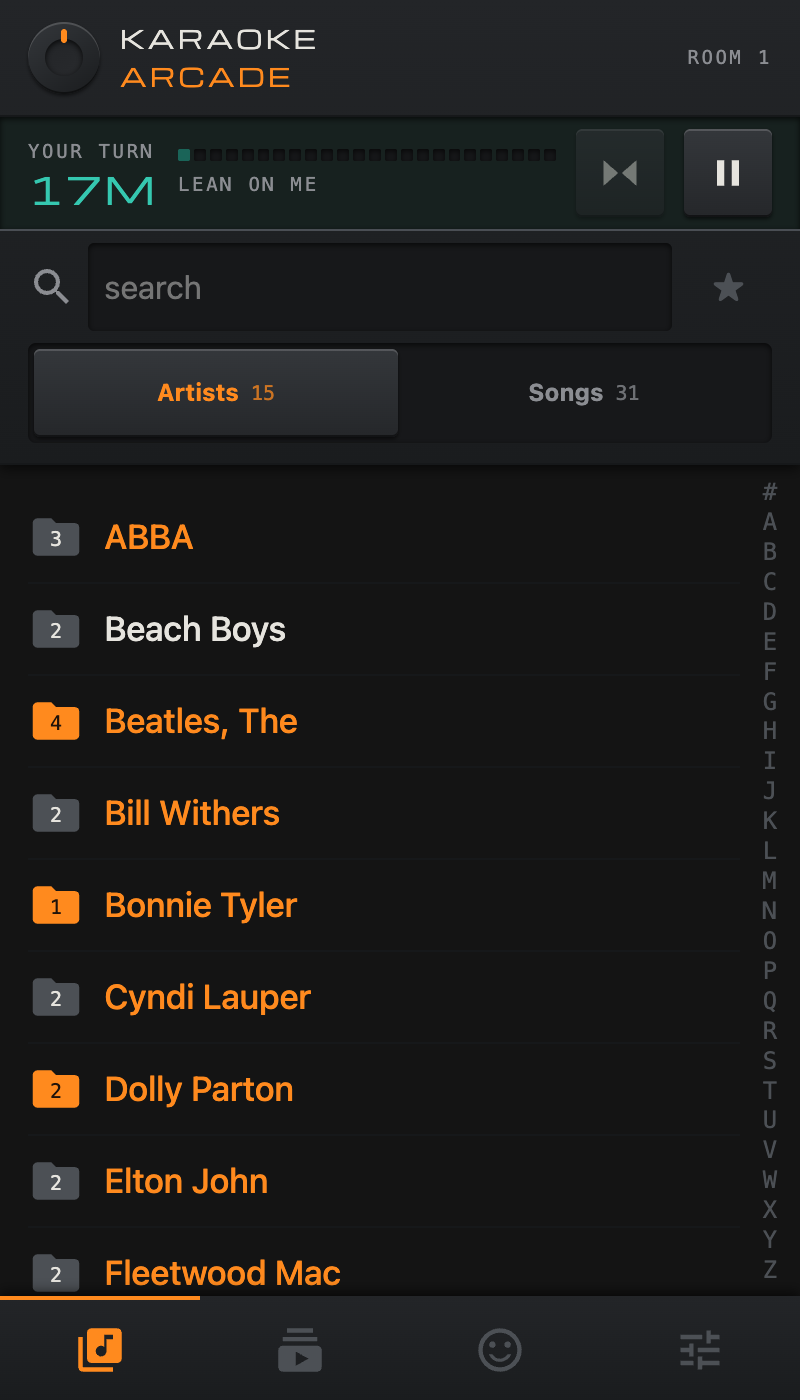
Library view
In the Library view, queue a song by tapping an artist, then tapping a song. Go ahead and queue a few - the songs will glow to indicate they’re queued. Pretty simple, right?
You can do a lot more in the Library view, but for now let’s play some music!
6. Start the Player
KaraokeArcade’s player is just another part of the browser app, but it’s meant to run fullscreen on the system connected to your display and speakers. If you aren’t using the system you intend to use as the player, go to it now, browse to the server URL, and sign in with your admin account.
Go to Settings, where the Player panel reports “no player in room”. Press Open Player Here to start one in a new tab.
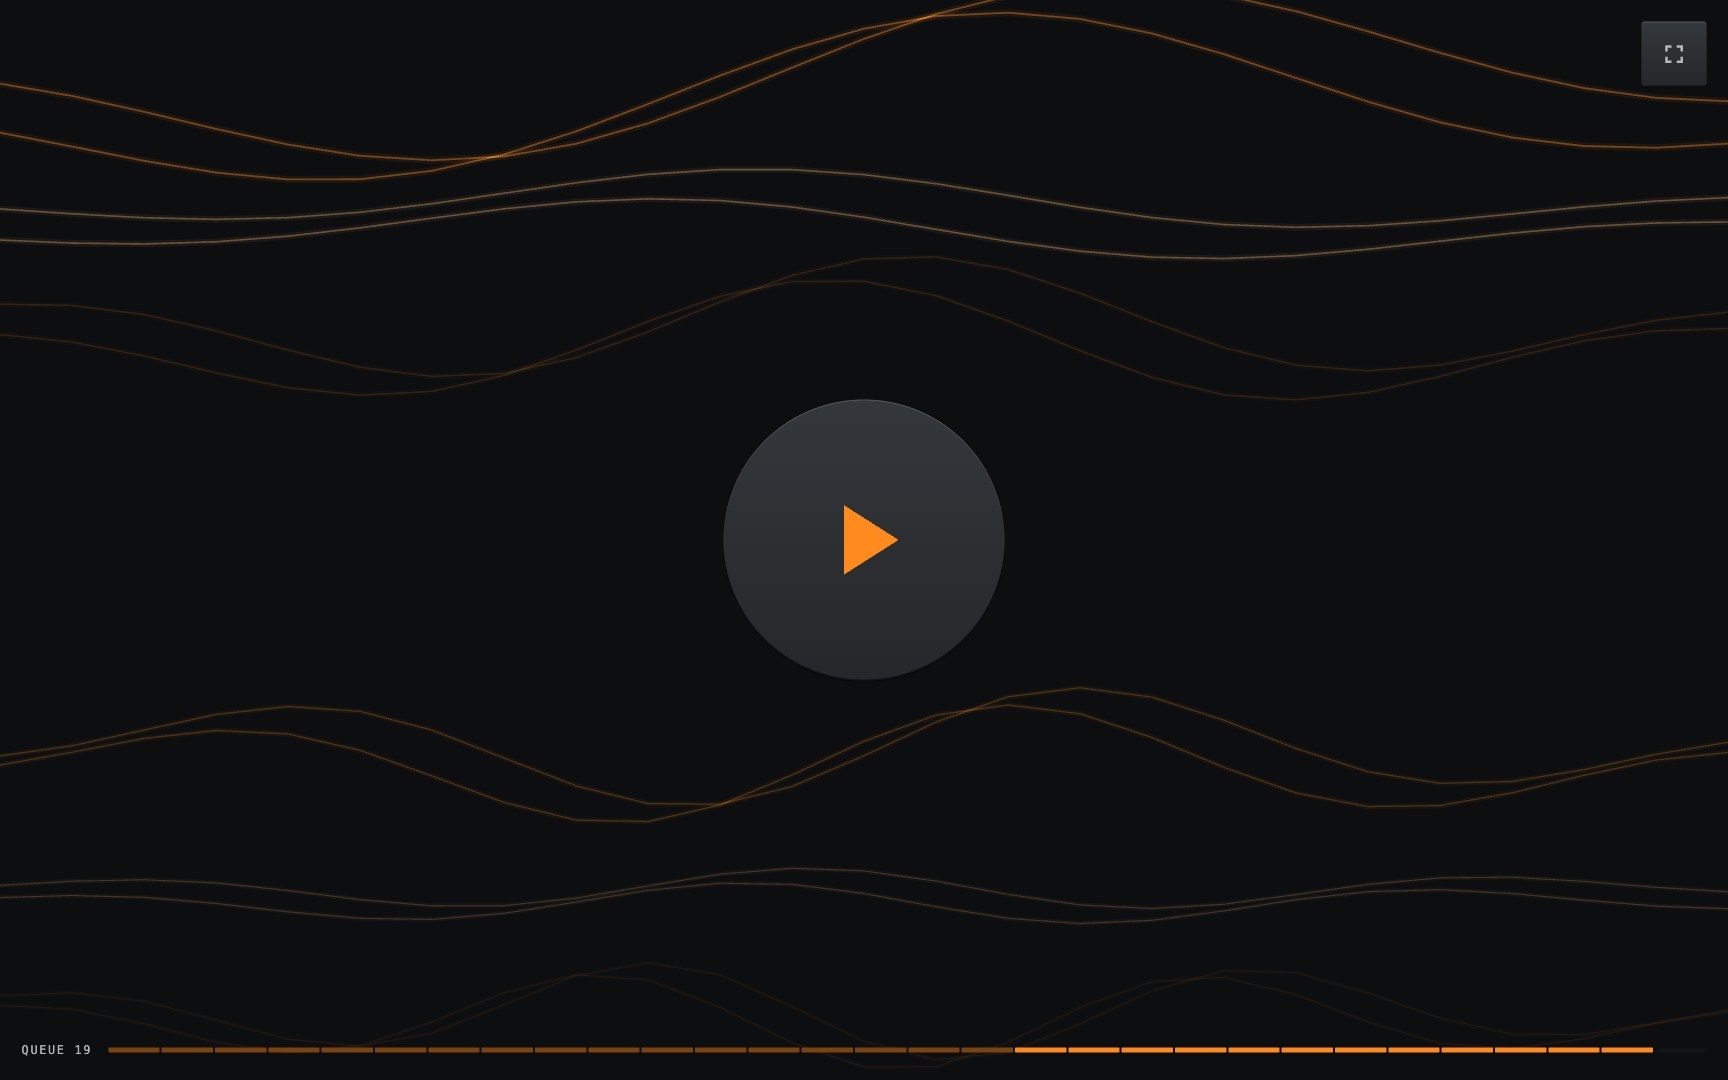
Player view
Now that there’s a player in the room, the playback and display controls appear in that same Settings > Player panel, along with the Show Join Code button for getting everyone else’s phones into the room.
Go ahead and press play in the player to start the party!
7. Next Steps
To get the most out of KaraokeArcade, continue with the app documentation. Seriously, there’s quite a bit going on beneath the surface!
Found a bug or have a request? Open an issue. For general karaoke-system support and development chat, there’s the Karaoke Eternal Discord Server.
KaraokeArcade is a fork of Karaoke Eternal; if you are able, please consider sponsoring the upstream project that made this possible.
Now, go get singing!